
No part of a kitchen wall collects as much mess as the band between worktop and wall units. Spitting oil, splashes from the tap and juice from the chopping board hit it first. The splashback shields the plaster and does almost as much for the kitchen's look as the doors. Choose its material by how easy it will be to clean every day, not just by appearance.
Glass: seamless and glossy
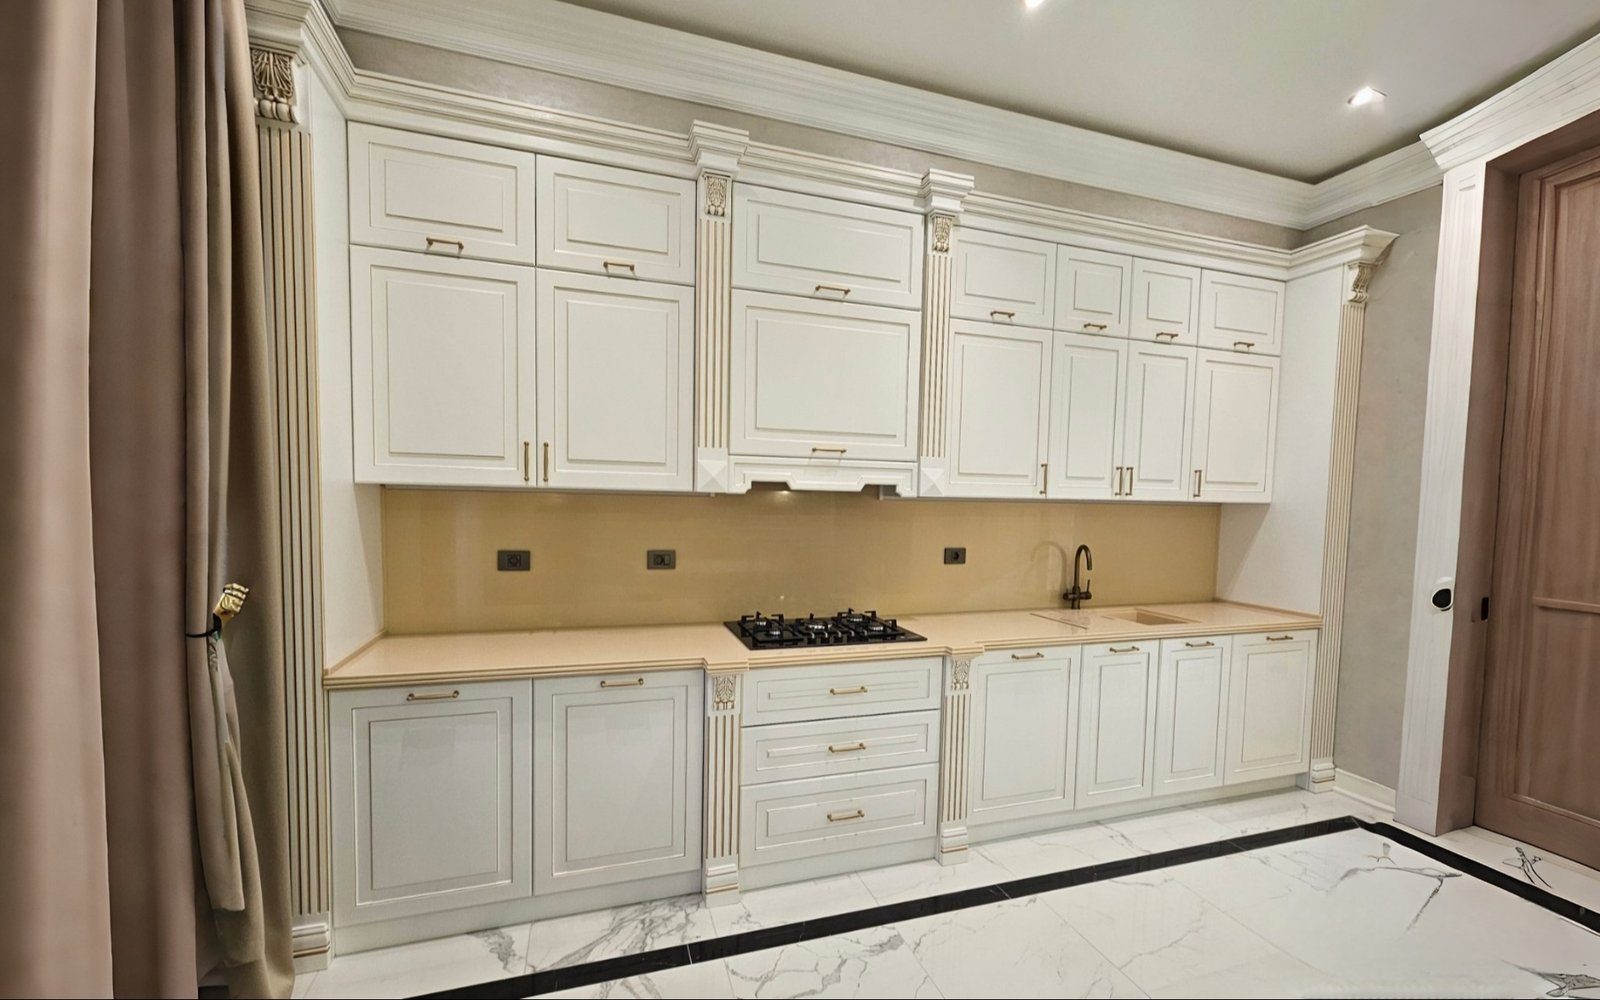
Kitchen splashbacks use toughened (tempered) glass rather than ordinary sheet glass. It withstands heat and impact better, and if it does break it crumbles into small granules instead of sharp shards. Its biggest advantage is the absence of joints: a single sheet has no gaps for grease to collect in and wipes clean with one cloth.
The back of the glass can be painted, printed or left clear to show the wall behind. Standard glass has a greenish tint that shifts whites and light colours, so if you want a true white, ask for low-iron glass. Accurate measurement is essential: cut-outs for sockets and switches are made before toughening, and nothing can be drilled afterwards. That is why the template is taken once the worktop and cabinets are installed.
Ceramic tiles: endless choice, but joints
Ceramic handles heat, water and cleaning products well, and the range of shapes and colours is almost unlimited. The weak point is the grout. White grout next to the hob yellows over time and absorbs grease. To reduce the problem you can:
- choose large-format tiles to cut down the number of joints;
- use an epoxy-based grout that resists moisture and stains;
- pick a grout slightly darker than the tile.
Deeply textured tiles look decorative, but grease settles in the hollows and cleaning becomes harder. Around the hob, a smooth surface is more practical.
Stone: an extension of the worktop
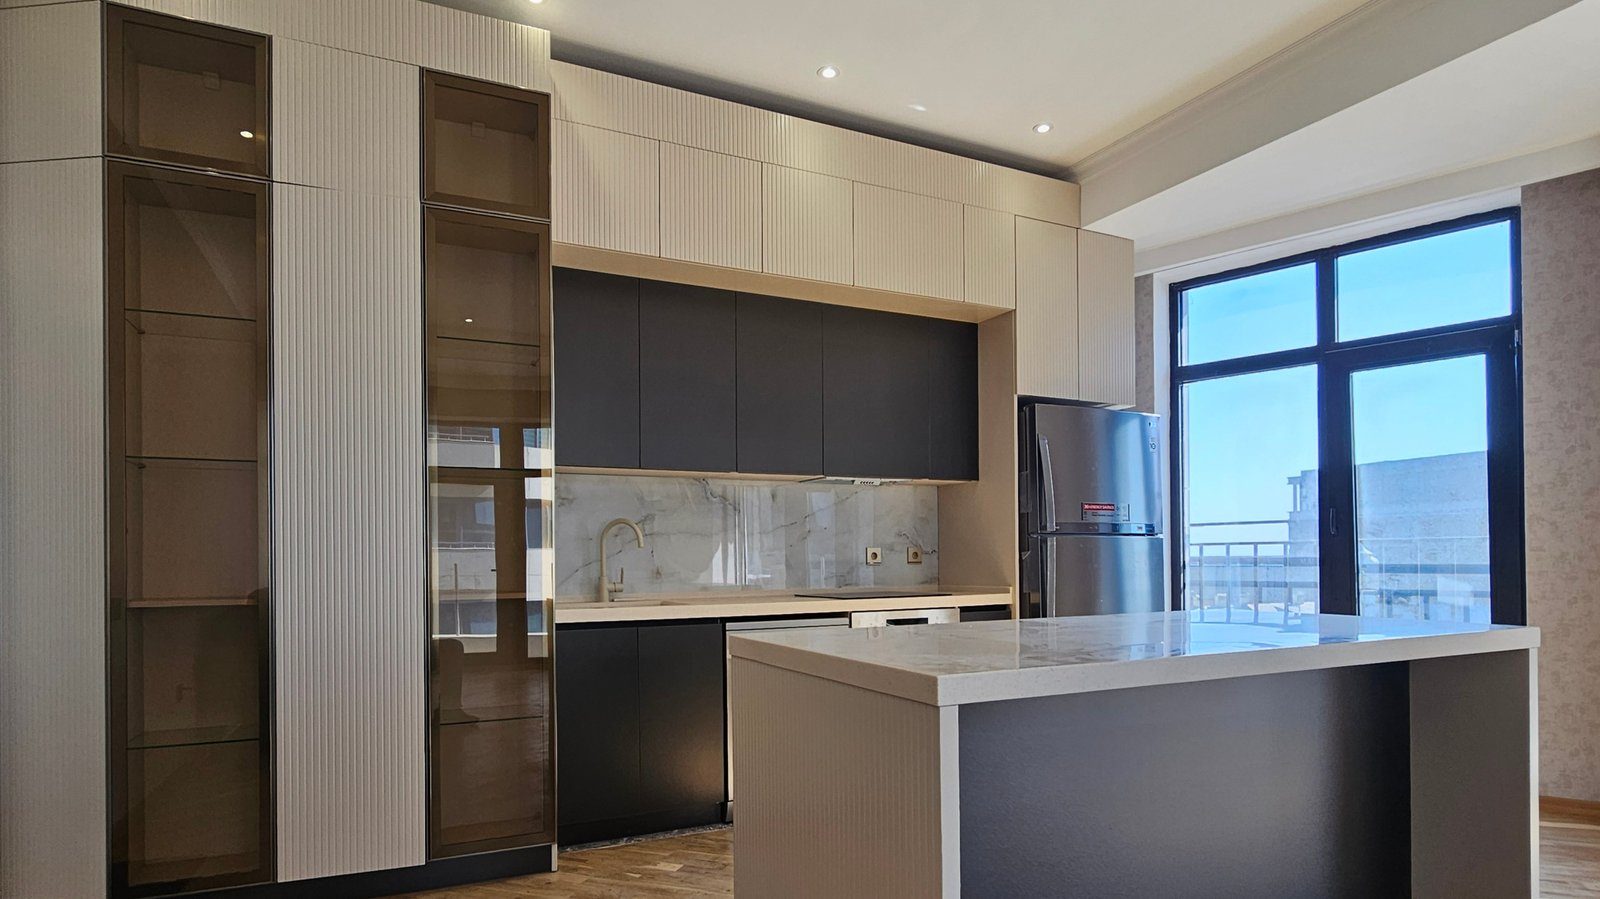
Running the same stone up the wall as on the worktop gives a calm, unified look. Quartz composite has a dense, non-porous structure, so it does not absorb stains and needs no special care. Natural marble is porous: acids such as lemon juice, vinegar and wine can etch its surface, so it has to be sealed and used with care. Granite is harder and more durable, though its pattern is busier.
A stone splashback is heavy and needs a flat wall. Joints still appear where slabs meet, but properly finished they are very fine.
Panels: quick and economical
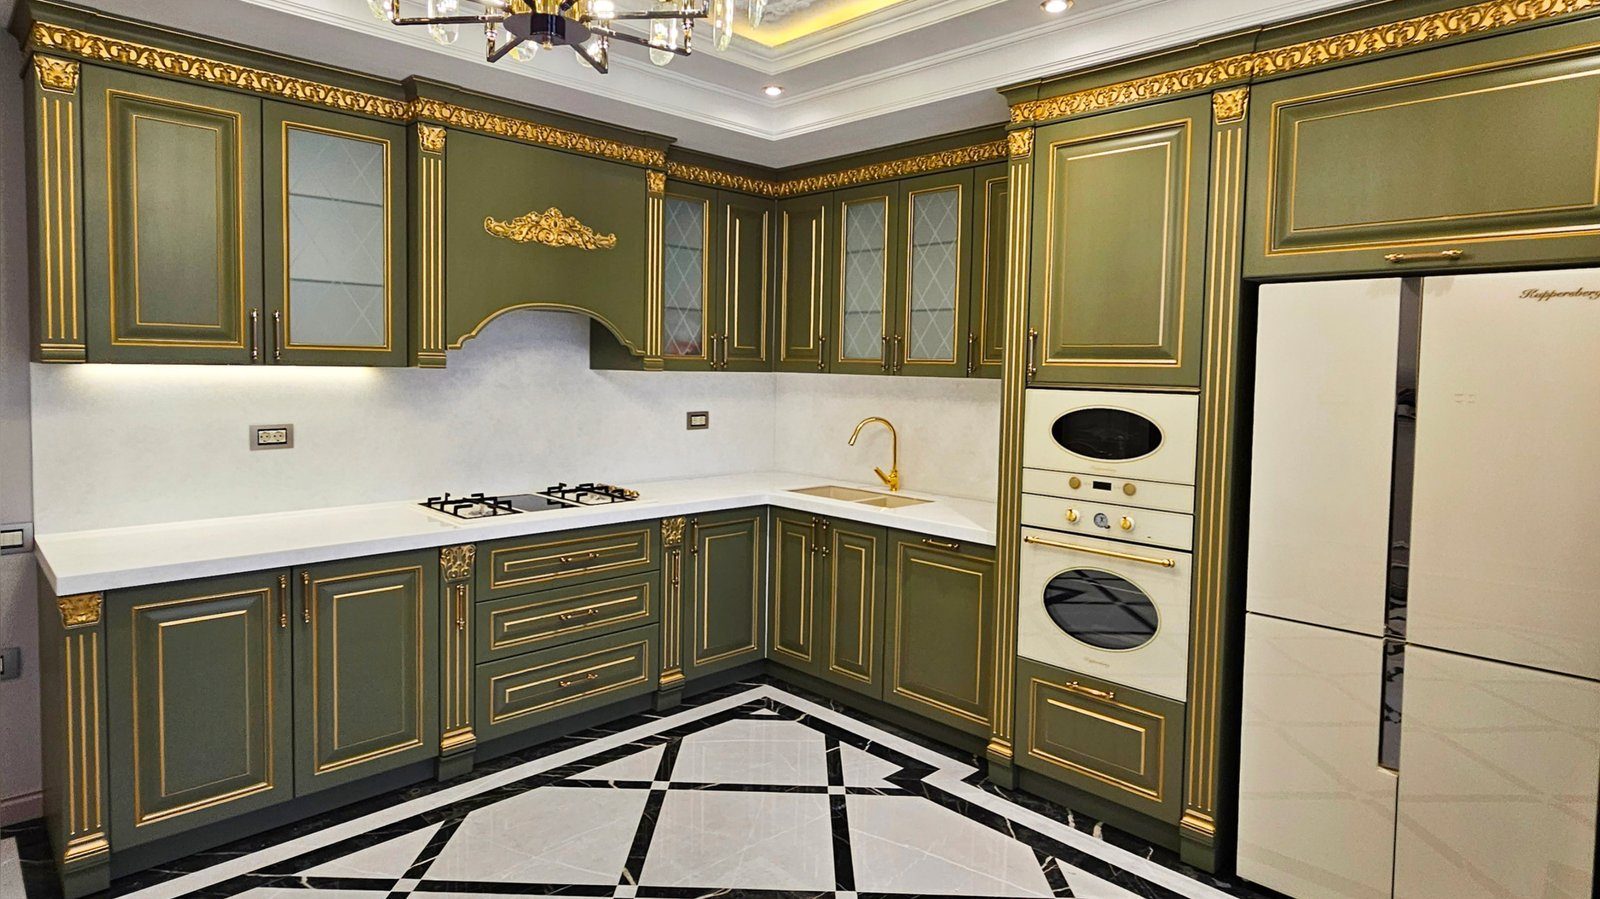
Laminate and HPL splashbacks can match the worktop decor exactly, weigh little and go up quickly. Most sit on a chipboard core, so their weak point is the cut edge, which needs a silicone seal wherever it meets the sink area. Near a gas hob, check the panel's heat rating in the manufacturer's data and add a glass or steel heat guard if required.
Details not to forget at the planning stage
The choice of material is only part of the job. A few technical points save a lot of trouble later:
- Socket positions. Decide in advance where the coffee machine, toaster and blender will plug in along the splashback.
- Under-cabinet lighting. Glossy glass and polished stone mirror LED strips; mounting the strip close to the front edge of the wall unit cuts down the glare.
- Height. A splashback usually runs from the worktop to the underside of the wall units; in the cooker hood zone it follows the hood’s mounting height.
- The joint line. The corner where worktop meets splashback collects water, so a sealed joint or a profile is a must.
Everyday care compared
Glass and quartz clean with a soft cloth and ordinary detergent; abrasive powders and metal scourers can leave fine scratches on glass and dull patches on stone. Ceramic itself is tough, but its joints need a more thorough clean a few times a year. Marble calls for avoiding acidic cleaners altogether. With panel splashbacks, check the edges rather than the face, and watch whether the sealant has started to lift over time.
The question is not simply which looks best. For a family that cooks a lot a seamless surface saves time, while in a kitchen used only occasionally decorative tiles can be perfectly appropriate.
In its kitchen projects Zaferoglu Mebel plans the splashback zone, sockets and lighting together with the cabinets, so that measurements and the installation sequence are coordinated from the start.