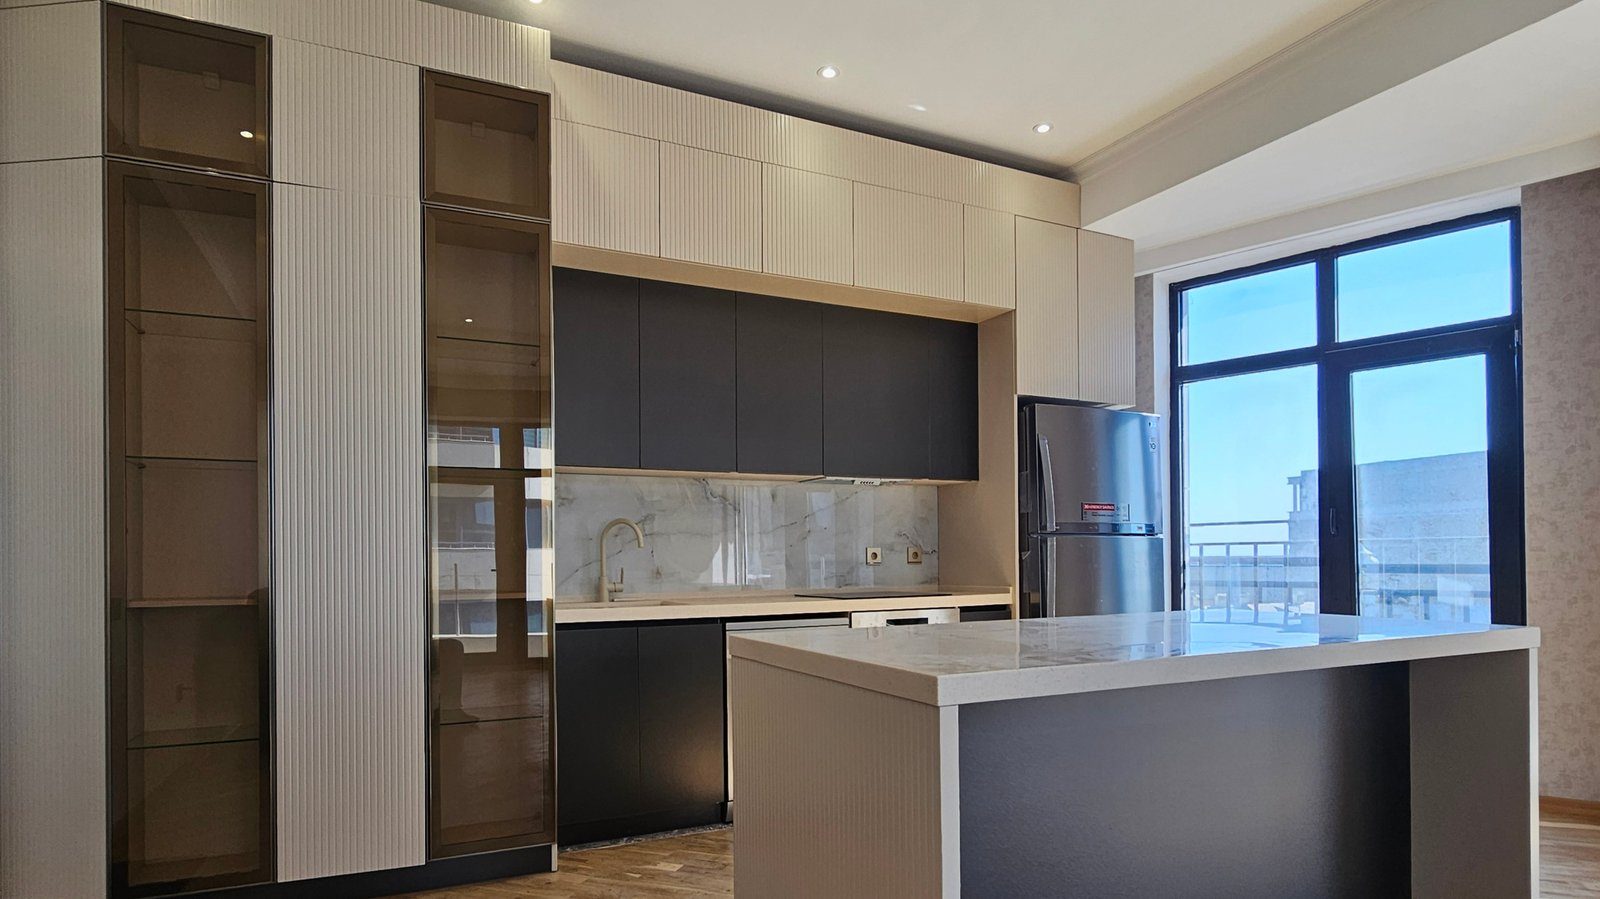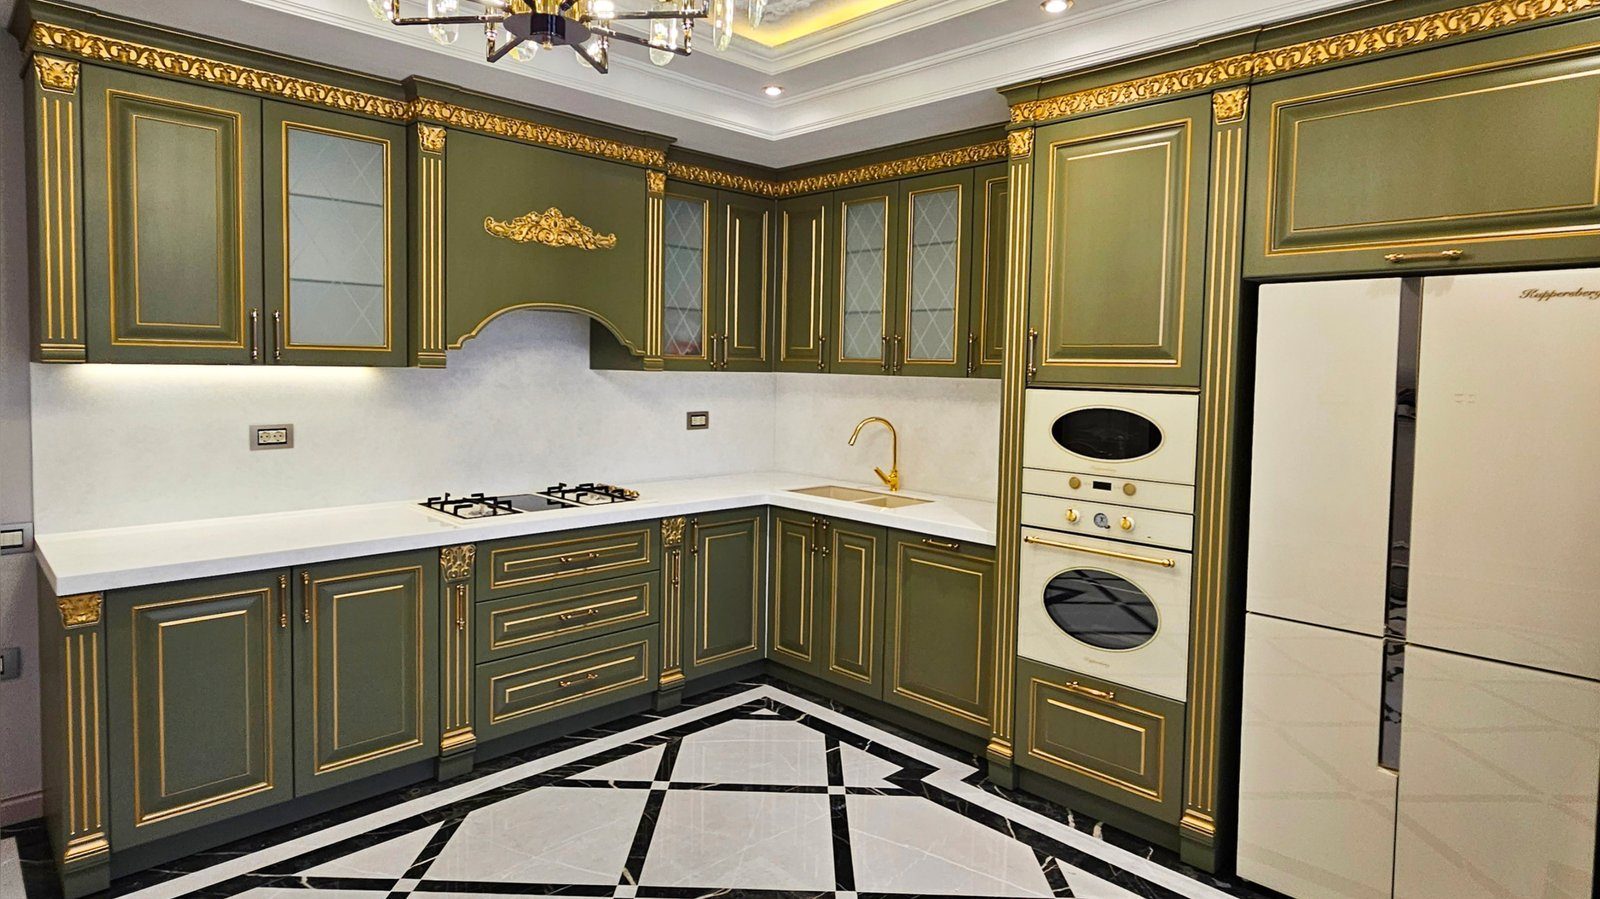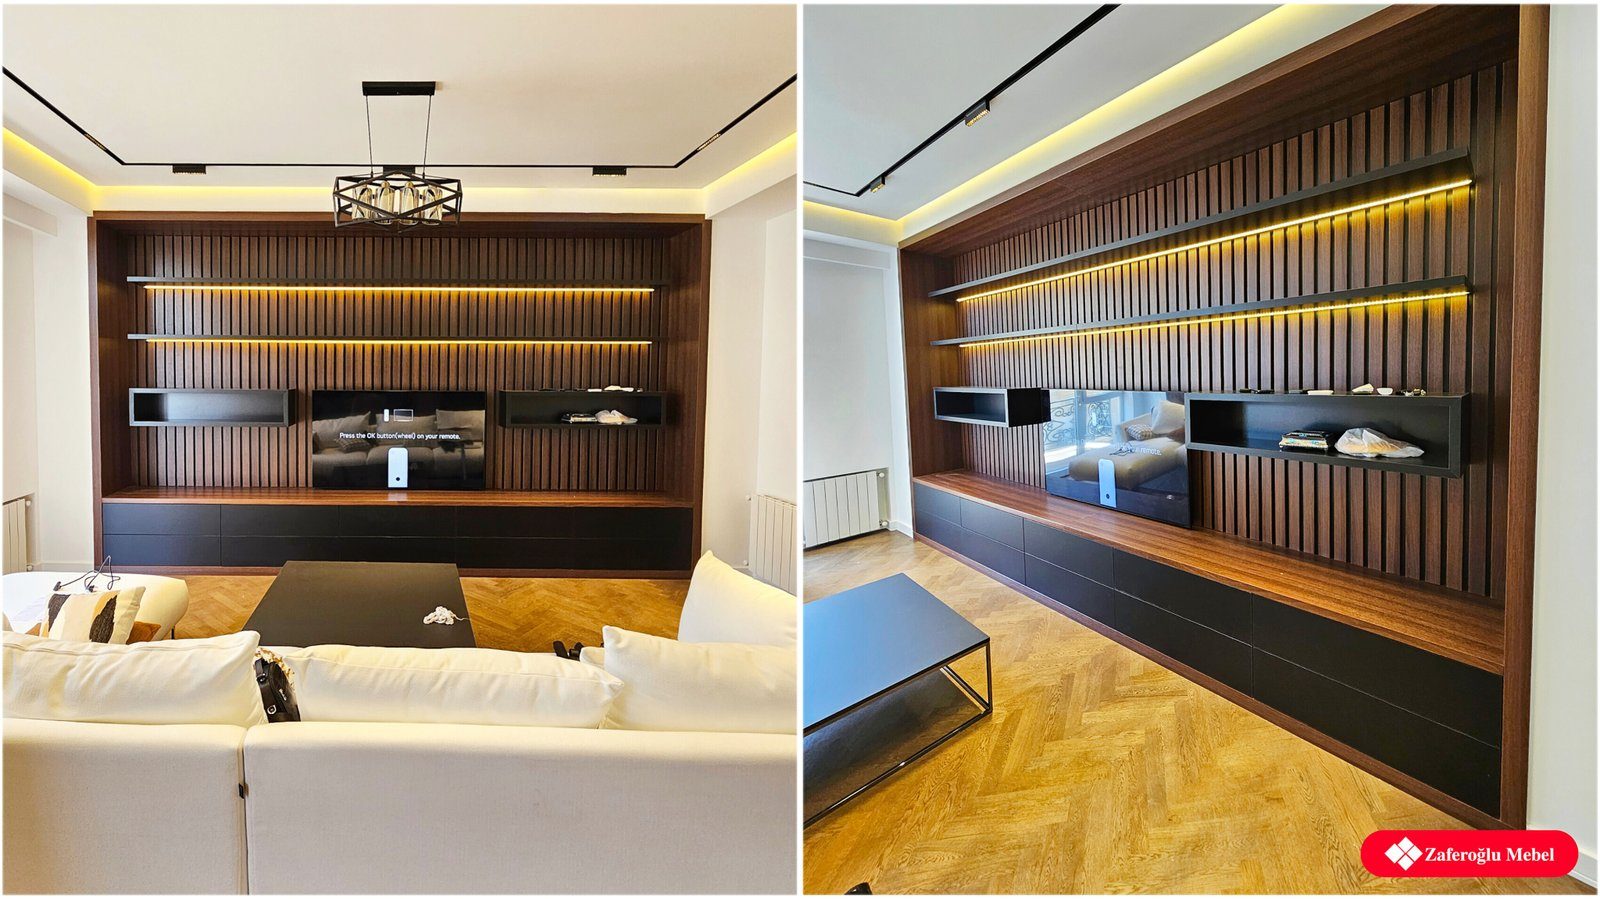

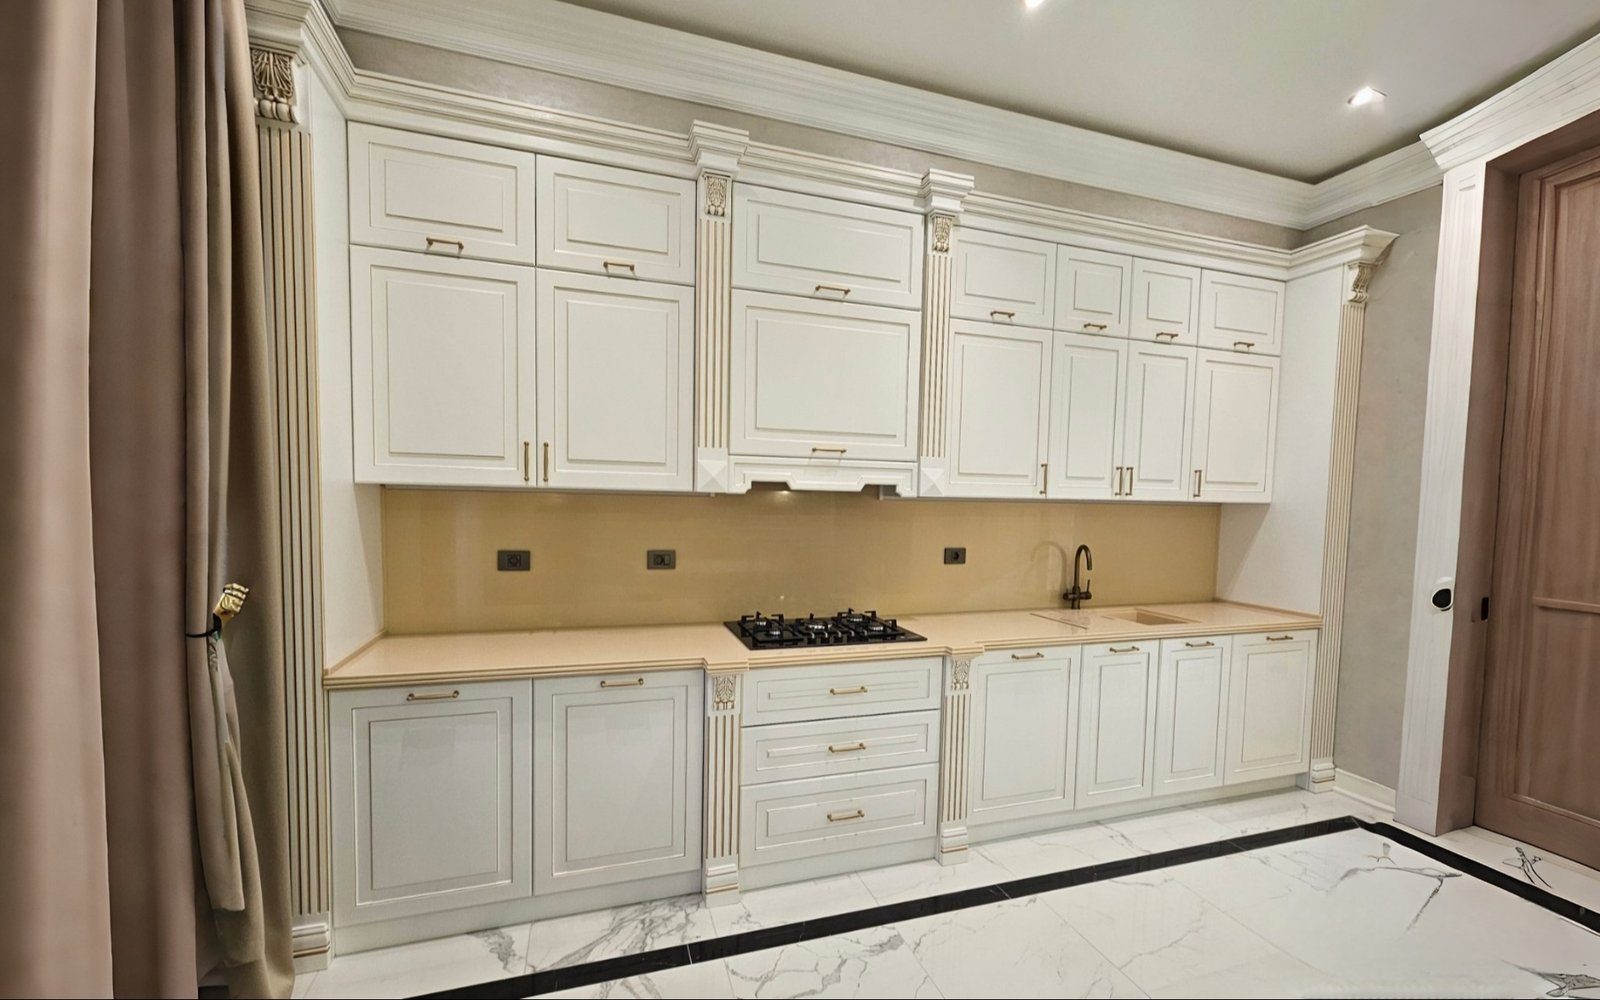
Even in a newly renovated flat the floor is rarely perfectly level. Tiles, laminate or screed can vary by several millimetres across a room, sometimes more. You cannot see it, but it shows up as soon as furniture goes in: a drop of water on the worktop runs to one side, the gap between hinged doors changes from top to bottom, a sliding wardrobe door opens by itself. The solution lies where the furniture meets the floor.
Measure the floor first
Professional installation starts by finding the highest point of the floor. A laser level or a long spirit level is used to check several points along the line where the furniture will stand. The highest point becomes the reference, because furniture cannot be lowered, only raised. All the other cabinets are brought up to that level.
This leads to an important practical rule: the floor finish must be complete before the furniture goes in. If kitchen units are set on bare screed and tiles are laid around them afterwards, problems with the plinth and the dishwasher height can follow. If there is underfloor heating, the fixing method is chosen so that the pipes beneath the legs are not damaged.
Adjustable legs on kitchen units
Kitchen base units usually stand not directly on the floor but on threaded plastic or metal legs. Turning the leg body lengthens or shortens it, so each cabinet can be levelled separately with millimetre precision. The system has several advantages:
- the cabinet bottom stays clear of the floor, so water does not soak into the carcass when the floor is mopped;
- pipes and cables can easily run beneath the units;
- the load is spread over several points, so the carcass does not bend under a heavy stone worktop;
- if the floor settles later, the level can be corrected again.
The number of legs depends on cabinet width and load. On wide units, especially under the sink and hob, an extra central leg prevents the bottom from sagging.
The plinth: a panel that hides the legs
The plinth, or kickboard, is a panel fixed along the bottom edge of the cabinets in front of the legs. It hides the legs and the gap between cabinet and floor, and it stops dust and crumbs from getting underneath. It attaches to the legs with special clips and can be removed and refitted when needed, which is very useful if there is a leak or something rolls underneath.
Plinth materials:
- Chipboard in the same decor as the fronts gives a unified look, but its bottom edge must be protected from moisture;
- Aluminium or metal-effect PVC resists water and shoe scuffs well and is widely used in modern kitchens;
- A contrasting dark colour makes the plinth visually disappear, so the units seem to float above the floor.
A flexible sealing strip is fitted to the bottom edge of the plinth. It covers small irregularities in the floor and keeps mopping water away from the panel’s cut edge.
Ventilation and plinth drawers
Integrated fridges and some dishwashers need an air intake at floor level. A ventilation grille is set into the plinth in front of these units, with its size and position taken from the appliance installation instructions. Forgetting the grille can make the appliance overheat and use more energy.
The plinth zone can also be used for storage. A shallow drawer at leg height suits baking trays, chopping boards or rarely used dishes, though the leg positions then have to be replanned around the drawer.
Wardrobes and other tall units
Wardrobes often run up to the ceiling and finish with a plinth. The key requirement here is a perfectly vertical carcass; otherwise the gaps between hinged doors become uneven and sliding doors drift along the track. Such units use levellers adjusted from inside the cabinet, so corrections can be made after installation without removing the fronts.
Once levelled, tall units are fixed to the wall. The gap between wall and carcass is covered with a filler strip, since walls are rarely perfectly straight either.
Checks after installation
- Put a level on the worktop in several directions.
- The gaps between doors should be the same at the top and bottom.
- A hinged door left half open should not swing open or shut by itself.
- The plinth should sit tight to the floor along its whole length.
- There should be a ventilation grille in front of the fridge and dishwasher.
Zaferoglu Mebel installs furniture on site with its own fitters free of charge; details such as levelling, plinths and ventilation are checked in place during installation.